Practical walkthrough
Piapi tutorial for a clearer video workflow
This piapi tutorial shows how to move from a simple idea to a reviewed video result, with practical checks for prompts, inputs, revisions, and delivery.

Tutorial at a glance
Use these checkpoints to understand the workflow before you try it.
6 min read- 01Prepare Four prerequisites reduce avoidable prompt and input problems before the first request.
- 02Workflow Three core steps take an idea from planning to generation and review.
- 03Expectations Three limitation patterns explain why a result may need a second pass.
- 04Repeat A reusable prompt structure makes later Piapi requests easier to compare.
Numbered steps
The simplest reliable process is to prepare the request, generate a first pass, then inspect and revise the result.
-
1
Define the shot
Write down the subject, action, setting, camera movement, visual mood, duration, and any must-keep details before entering a request.
-
2
Submit a focused request
Use one coherent scene and describe the most important details first. Avoid combining several unrelated shots in one prompt.
-
3
Review and refine
Check motion, composition, continuity, and unwanted objects. Change one variable at a time so you can tell what improved the result.
Prerequisites
A little preparation gives the Piapi workflow a stable starting point and makes revisions easier to diagnose.
-
A specific video idea with one primary subject and action.
RequiredDecide what the viewer should notice first.
-
A prompt that names the setting, movement, framing, and visual style.
RequiredShort, concrete descriptions are easier to revise.
-
A clear output goal, such as a social clip, concept shot, or storyboard sample.
RequiredThe goal helps you judge whether the result is useful.
-
A reference image or visual direction, when consistency matters.
OptionalOptional, but useful for color, character, or composition.
-
A review checklist for motion, subject identity, artifacts, and framing.
RequiredWrite the checks before you compare versions.
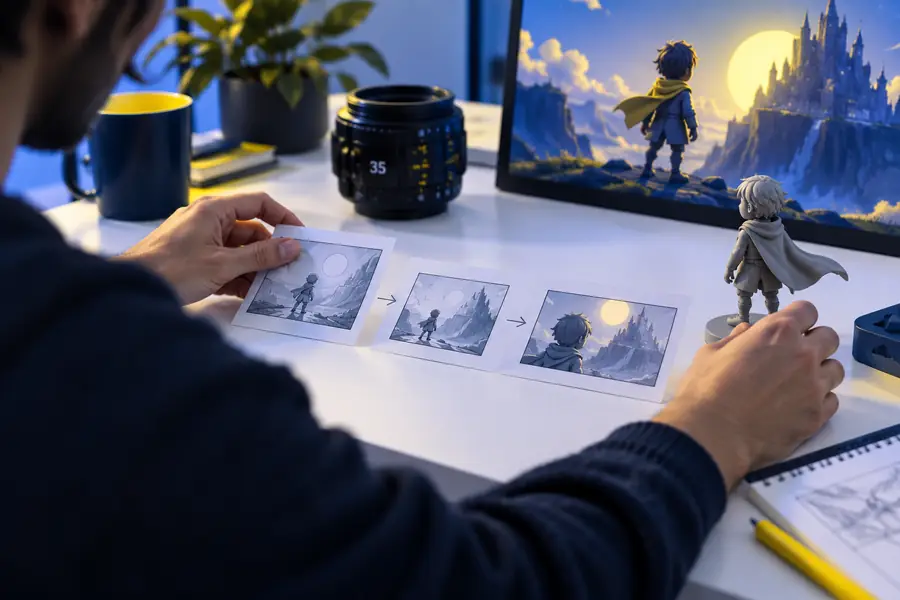
Compare the first pass
A before-and-after review is more useful than judging a single result in isolation.

 First pass
Refined pass
First pass
Refined pass
Drag the divider to compare composition and visual clarity.
How the workflow evolved
Modern video creation workflows have moved from isolated experimentation toward short, reviewable production loops.
-
Prompt-first experimentation
Creators began using short natural-language descriptions to explore visual ideas before committing to detailed production plans.
-
Reference-led iteration
Reference images, shot notes, and style directions became more common as creators sought stronger visual consistency.
-
Short-form video loops
The practical unit of work shifted toward brief clips that could be generated, reviewed, and revised quickly.
-
Structured prompt workflows
Reusable fields for subject, action, camera, setting, and constraints made results easier to compare across attempts.
-
Review before scaling
A dependable workflow starts with one focused scene, checks the output carefully, and only then expands into a larger sequence.
Advanced tips
The best workflow depends on whether you are exploring an idea, polishing a shot, or preparing material for a larger edit.
Keep the first request narrow
When the goal is exploration, do not try to solve the entire video at once. Ask for one subject, one action, and one camera idea, then use the strongest direction as the basis for the next Piapi pass.
- Put the subject and action at the beginning.
- Use one visual style instead of a list of competing styles.
- Save the exact wording of promising requests.
Revise one variable at a time
When polishing a result, change only one major factor per pass. If you alter the subject, camera, lighting, and pacing together, it becomes difficult to identify the cause of an improvement or failure.
- Keep a short version history for every pass.
- Compare framing before color or mood.
- Remove details that repeatedly produce artifacts.
Design for the final placement
A clip made for a vertical feed has different framing needs from a presentation, landing page, or wide edit. Decide the destination early and keep the key action inside the intended viewing area.
- Describe the important action near the center of the frame.
- Leave visual space when captions or titles will be added.
- Review the clip at the size and orientation where it will actually appear.
Common errors and fixes
A failed or uneven result does not always mean the idea is unusable. These common problems usually call for a more focused request or a clearer review step.
-
Overloaded prompts
A request with several locations, subjects, actions, and camera changes can produce muddled composition or incomplete motion.
WorkaroundSplit the concept into separate shots and establish the main action first.
-
Unclear movement
Words such as dynamic, epic, or smooth may not communicate what should move, how it should move, or where the camera should travel.
WorkaroundName the subject motion and camera motion separately, using a simple direction and pace.
-
Inconsistent details
Faces, hands, objects, text, and small repeating patterns may change during motion or appear distorted.
WorkaroundReduce fine-grained instructions, use a cleaner reference, and treat the first pass as a visual draft.
-
Wrong framing for delivery
A visually strong shot can still fail if the subject is cropped or the important action sits outside the intended format.
WorkaroundState the destination format in your plan and keep the focal action away from the edges.
Turn the method into a repeatable habit
Start with one focused scene, inspect the result, and keep the wording of every useful revision. A consistent review loop will usually help more than adding random detail to the first request.
Try a focused workflow- Begin with one subject and one action
- Review motion before styling details
- Save prompts that produce useful directions
Tutorial FAQ
Answers to the practical questions people commonly ask when looking for a Piapi tutorial.
Begin with one short scene rather than a complete production. Define the subject, action, setting, camera movement, and intended use, then review the first result before adding more complexity.
Include the main subject, what it is doing, where it is, how the camera moves, and the visual mood. Put the most important information first and avoid combining unrelated scenes in one request.
There is no fixed number that fits every scene. Make a focused first pass, identify the largest problem, and change one major variable at a time until the result meets the purpose of the clip.
Text descriptions can leave room for interpretation, especially when they contain competing instructions or very fine details. Simplify the request, clarify the action and framing, and use a reference direction when consistency is important.
Yes, the prepare, generate, review, and revise loop still applies. For a longer project, work shot by shot and keep a shared record of subjects, style, framing, and continuity requirements.